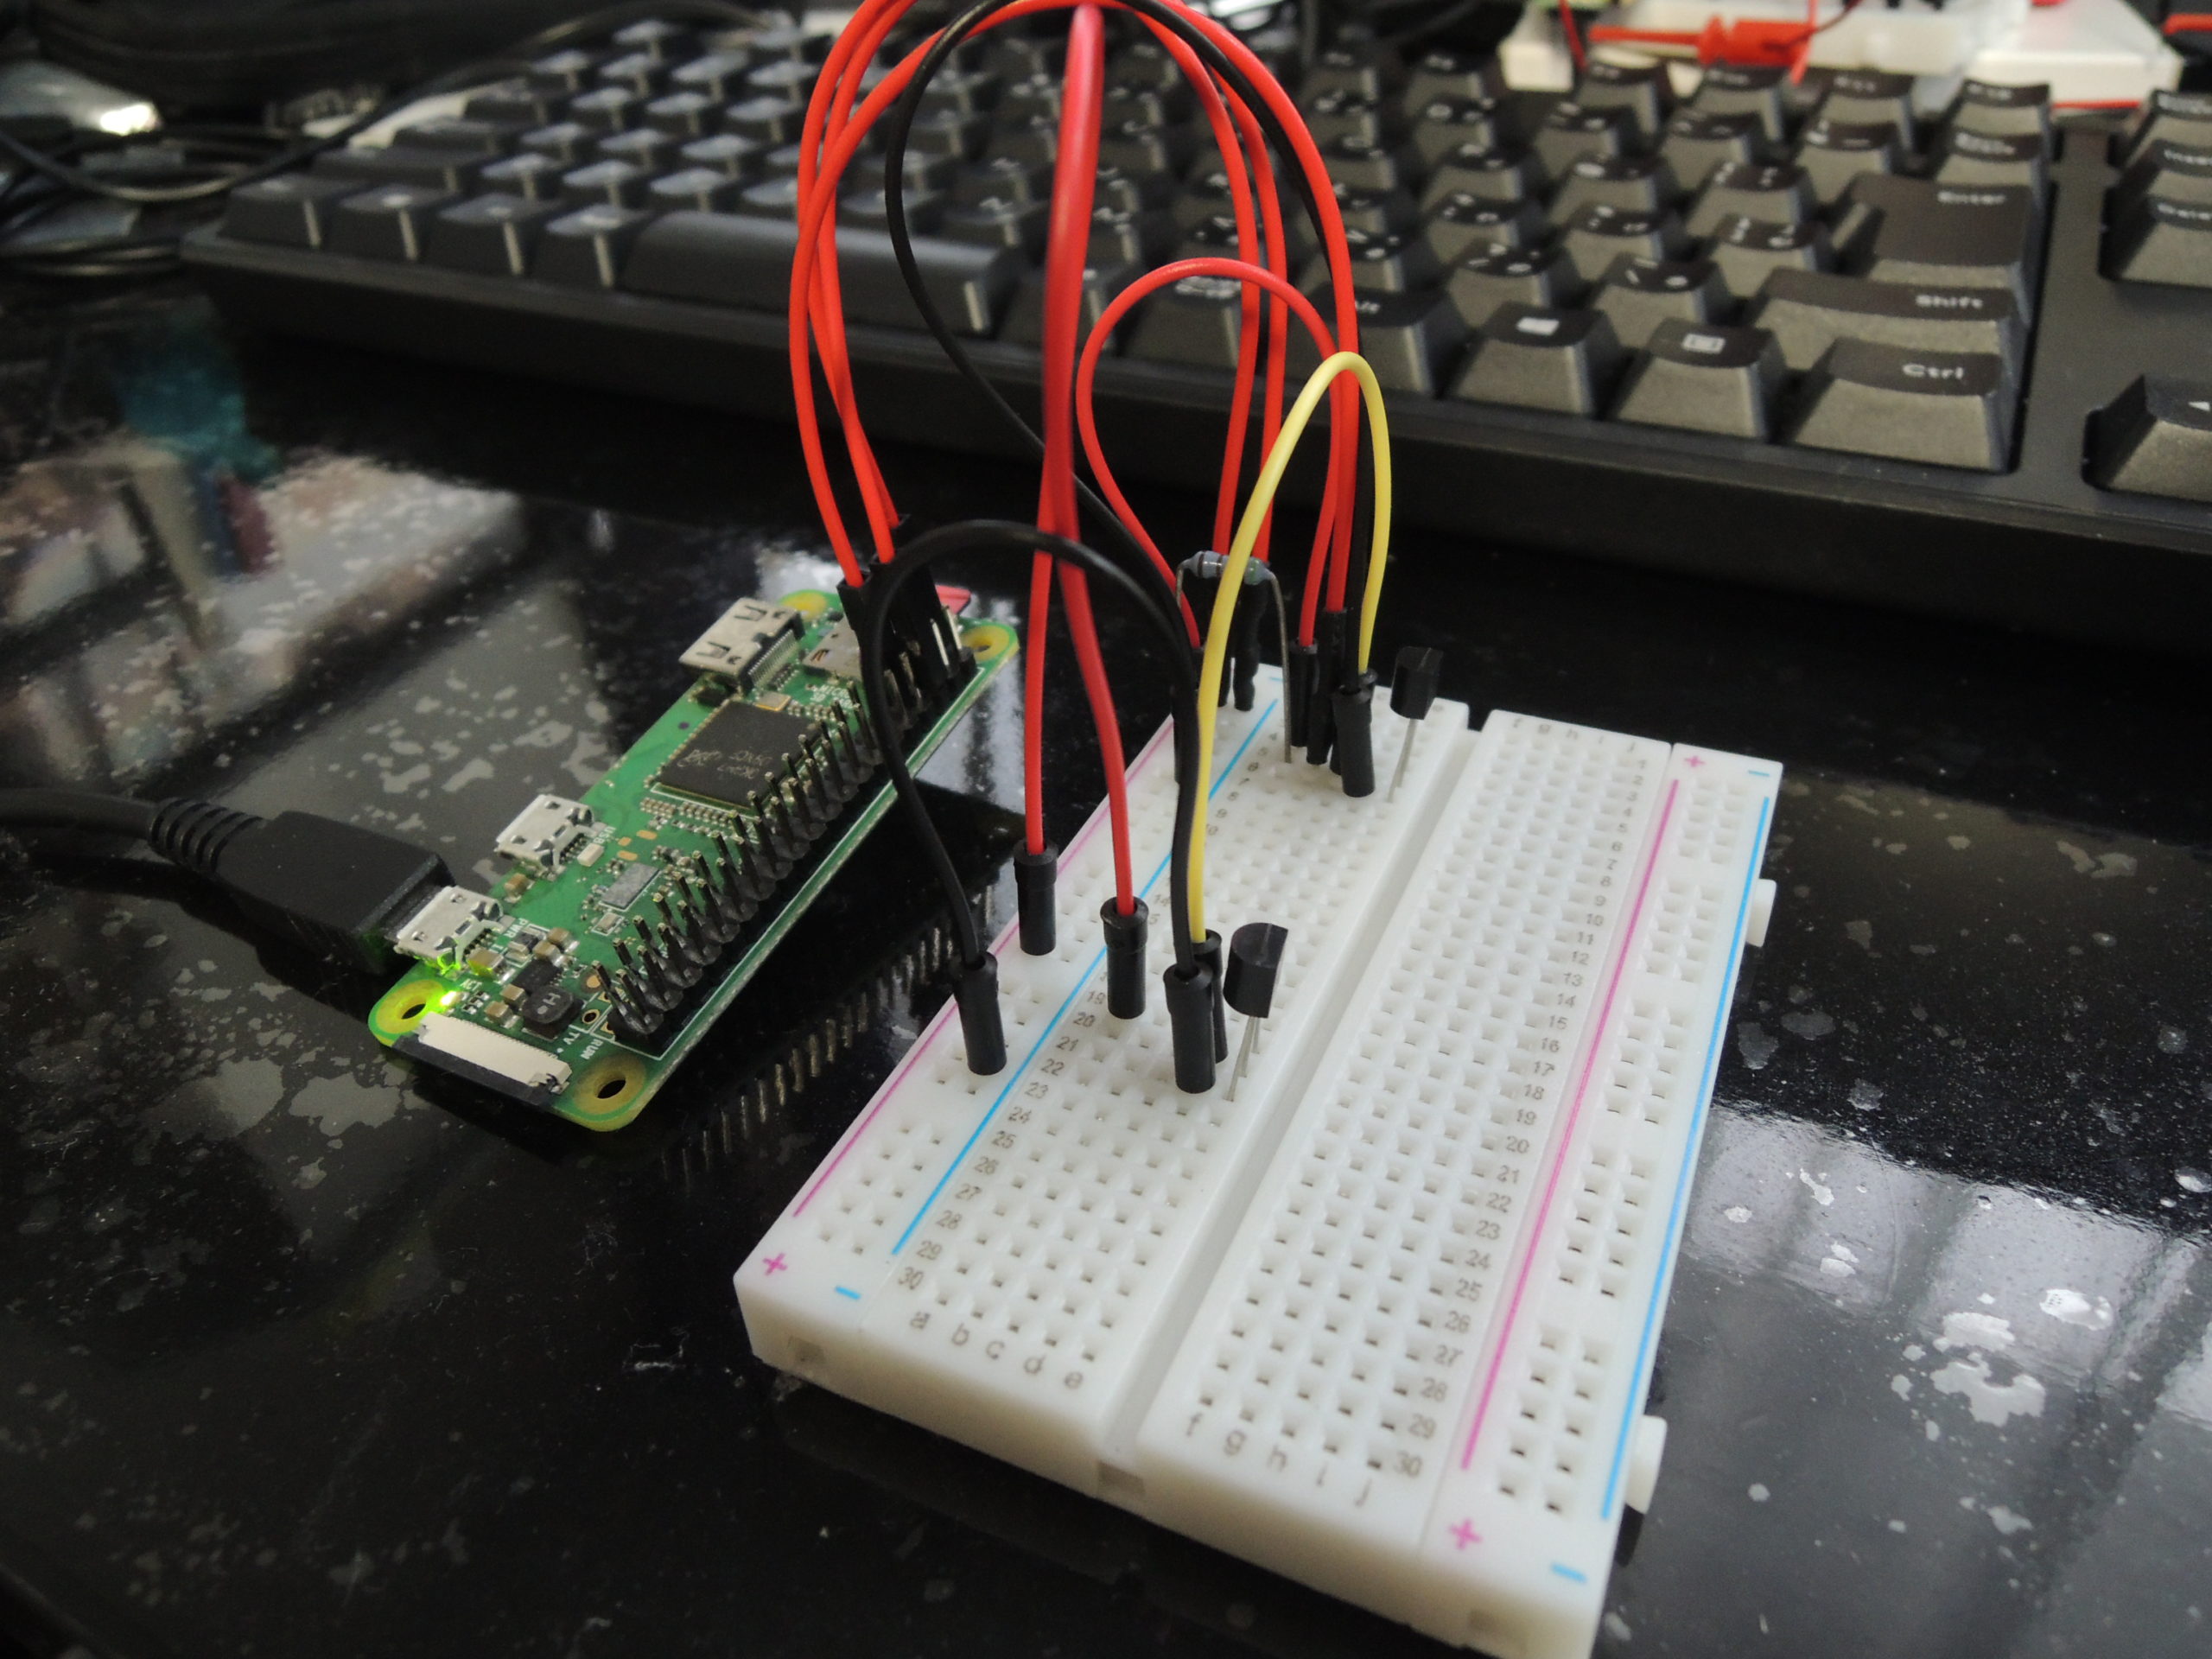
温度センサーDS18B20の測定値をブラウザで表示
温度センサーで測定したデータを、スマホやパソコンのブラウザで表示するためWebIOPiをインストールしました。WebIOPiをRaspberry Piにインストールして実行するとwebサーバが立ち上がり、ブラウザからGPIOの操作や、Raspberry Pi内のPythonプログラムを実行できるようになります。
WebIOPiのインストール
http://webiopi.trouch.com/ にアクセスし、ヘッダーメニューのDownloadをクリック
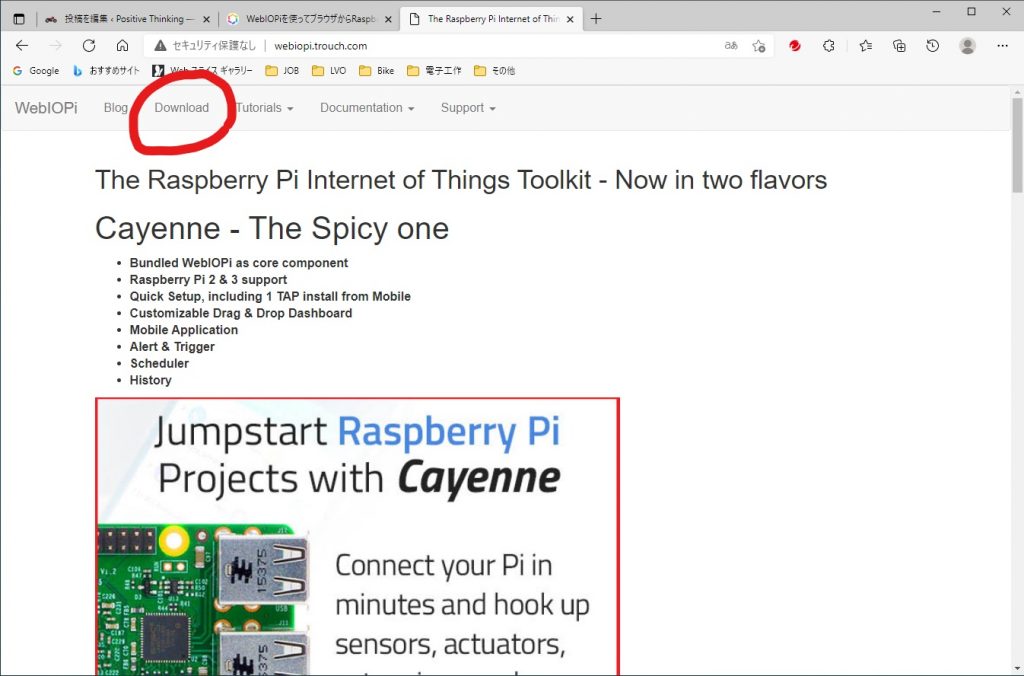
Original WebIOPi-0.7.1.tar.gz (full sources download)をクリックしてダウンロードします。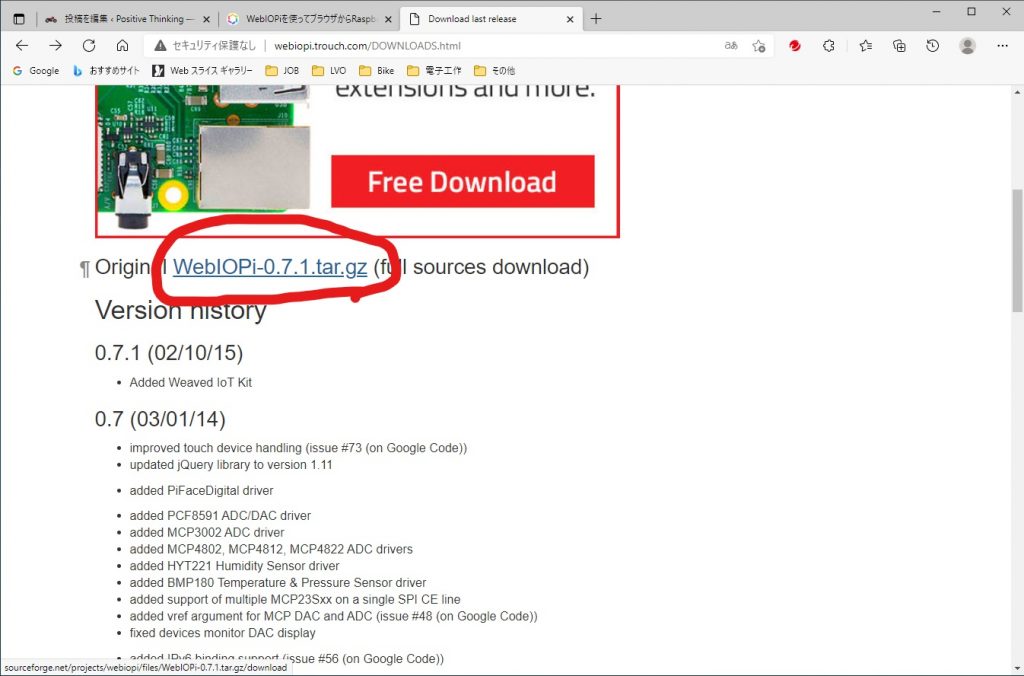 ダウンロードしたファイルは、ユーザーpiのホームにある「Downloads」または「ダウンロード」フォルダにあります。WebIOPi-0.7.1.tar.gzを確認したら、ユーザーpiのホームに移動します。
次に、ターミナルを起動して次のコマンドを順番に入力します。
- tar zxf WebIOPi-0.7.1.tar.gz
- cd WebIOPi-0.1.7/
- wget https://raw.githubusercontent.com/doublebind/raspi/master/webiopi-pi2bplus.patch
- patch -p1 -i webiopi-pi2bplus.patch
- sudo ./setup.sh
完了すると、Do you want to access WebIOPi over Internet?[y/n] と聞いてきますので、「n」をタイプします。(家の中だけで使う設定です。家の外ではこのままでは使えません。)
次に、2つのコマンドを入力してください。
- wget https://raw.githubusercontent.com/neuralassembly/raspri/master/webiopi.service
- sudo mv webiopi.service /etc/systemd/system/
これで、インストールは終了です。
WebIOPiの起動と停止
ターミナルから次のコマンドを入力すると起動と停止ができます。
- sudo service webiopi start (起動)
- sudo service webiopi stop (停止)
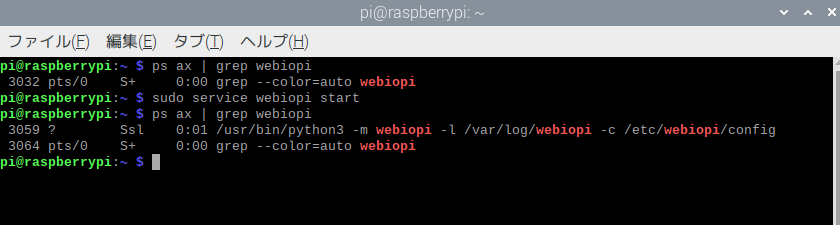
起動しているか停止しているかを調べるのは、
- ps ax | grep webiopi
を実行してください。起動している場合は、複数行が、起動していない場合は、1行のみ表示されます。(数字は時と場合により異なります。)
WebIOPiの自動起動
WebIOPiを自動起動するときは、
- sudo systemctl enable webiopi
自動起動が不要になったときは、
- sudo systemctl disable webiopi
とターミナルから入力します。
設定ファイルの変更
ターミナルで、sudo leafpad /etc/webiopi/config と入力し、[SCRIPTS]セクションのmyscriptを次のように書き換えます。コメントアウト # も外してください。1行追加する様になると思います。(下の赤線部分)
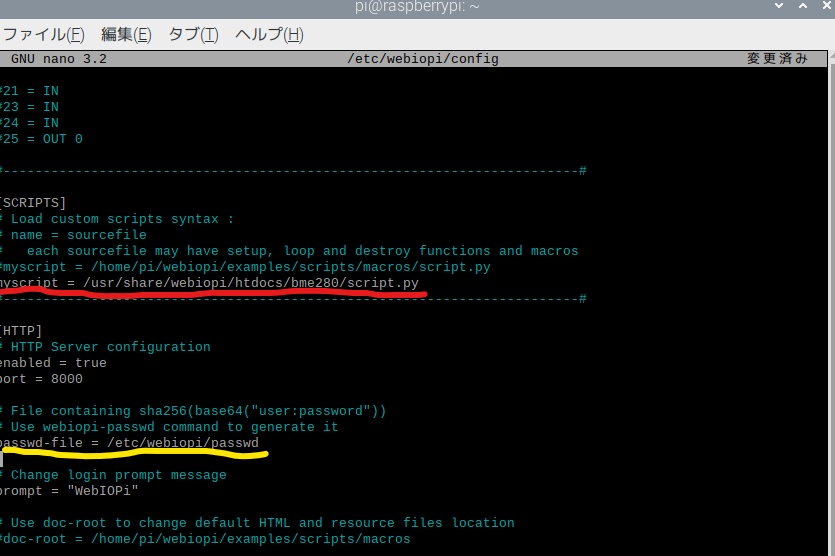
黄色センのpasswd-fileをコメントアウトすると、ウェブアクセスしたときにパスワードは聞かれなくなります。
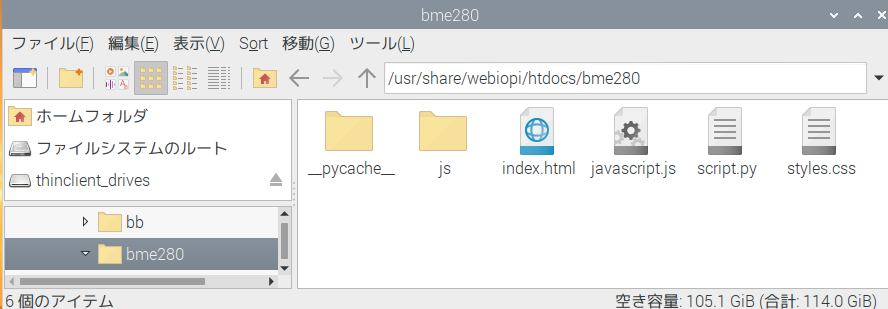
ファイルの配置
/usr/share/webiopi/htdocs/bme280 の中に「index.html」「javascript.js」「script.py」「styles.css」の各ファイルを保存します。jsフォルダには、「require.js」が保存してあります。
index.html
<!DOCTYPE html> <html> <head> <meta charset="utf-8"> <meta name="viewport" content="width=device-width, user-scalable=no"> <title>温度センサ(DS20B18)による温度の取得</title> <img src="data:image/gif;base64,R0lGODlhAQABAIAAAAAAAP///yH5BAEAAAAALAAAAAABAAEAAAIBRAA7" data-wp-preserve="%3Cscript%20src%3D%22js%2Frequire.js%22%3E%3C%2Fscript%3E" data-mce-resize="false" data-mce-placeholder="1" class="mce-object" width="20" height="20" alt="<script>" title="<script>" /> <img src="data:image/gif;base64,R0lGODlhAQABAIAAAAAAAP///yH5BAEAAAAALAAAAAABAAEAAAIBRAA7" data-wp-preserve="%3Cscript%3E%0A%09%09%09require(%5B%22%2Fwebiopi.js%22%2C%20%22javascript.js%22%5D%2C%20function()%7B%0A%20%20%20%20%09%09%09webiopi().ready(%20initialize_webiopi%20)%3B%0A%09%09%09%7D)%3B%0A%09%09%3C%2Fscript%3E" data-mce-resize="false" data-mce-placeholder="1" class="mce-object" width="20" height="20" alt="<script>" title="<script>" /> </head> <body> <div align="center"> <h4>温度センサ(DS20B18)により取得した温度を表示しています</h4> 温度センサー0: <input type="text" id="temp_text_0">℃<br><br> 温度センサー1: <input type="text" id="temp_text_1">℃ </div> </body> </html>
styles.css
#temp_text_0{
    width: 4em;
	/*height:3em;*/
	font-size: 2em;
}
#temp_text_1{
    width: 4em;
	/*height:3em;*/
	font-size: 2em;
}
body {
	background-color: #fffac2
}
javascript.js
// millisミリ秒ごとに温度を取得する関数
function getTempPeriodic(millis){
    // responseに温度が格納されている
    var drawTemp = function(macro, args, response){
        var temp = response.split(',');               // response は文字型 "*.???,*.???" ','で文字列を分割
        $("#temp_text_0").val(temp[0]);               // temp_text_0 にtemp[0]を代入し表示
		$("#temp_text_1").val(temp[1]);               // temp_text_1 にtemp[1]を代入し表示
    }


    // script.py内のgetTemp関数を実行。終了後にdrawTemp関数を呼ぶ
    webiopi().callMacro("getTemp", [] , drawTemp);

    // millisミリ秒後に自分自身を呼び出す
    setTimeout(function(){ getTempPeriodic(millis); }, millis);
}

function initialize_webiopi(){
    // webiopiの準備が終わってからstyles.cssを適用する
    applyCustomCss('styles.css');
    // 2秒ごとに温度を取得して描画
    getTempPeriodic(2000);
    // GPIOの状態を監視しない(自分で作成した関数で温度を定期的に取得するため)
    webiopi().refreshGPIO(false);
}

function applyCustomCss(custom_css){
    var head = document.getElementsByTagName('head')[0];
    var style = document.createElement('link');
    style.rel = "stylesheet";
    style.type = 'text/css';
    style.href = custom_css;
    head.appendChild(style);
}
script.py
# -*- coding: utf-8 -*-
import webiopi
import os
import glob
import time
import subprocess

os.system('modprobe w1-gpio')
os.system('modprobe w1-therm')

webiopi.setDebug()

#temp_c=0.00


base_dir = '/sys/bus/w1/devices/'                   #DS18B20のデータが保存されるディレクトリー
#device_folder = glob.glob(base_dir + '28*')[0]
device_folder = glob.glob(base_dir + '28*')         #センサーごとのディレクトリーをリスト形式で取得 センサーが複数ある可能性があるため
ch_length = len(device_folder)                      #センサーの個数を取得
temp= [0.00]*ch_length                              #センサーの個数分のリスト形式のtempを作成
#device_file = device_folder + '/w1_slave'

#-----/sys/bus/w1/devices/28*/w1_slave の中身---------------------
#    b1 01 4b 46 7f ff 0f 10 8d : crc=8d YES
#    b1 01 4b 46 7f ff 0f 10 8d t=27062
#-----------------------------------------------------------------

def read_temp_raw(ch):                              #センサーごとに作成されるファイルの読み取り chは0,1,2,3,...
    device_file = device_folder[ch] + '/w1_slave'   #センサーごとに作成されるファイル名の取得
    catdata = subprocess.Popen(['cat',device_file], stdout=subprocess.PIPE, stderr=subprocess.PIPE)   #Linuxのコマンド cat を使ってファイルの中身を取得 サブプロセス
    out,err = catdata.communicate()                 #サブプロセスの終了を待って標準出力と標準エラー出力を取得
    out_decode = out.decode('utf-8')                #バイト列を文字列に変換
    lines = out_decode.split('\n')                  #改行で区切り、lines リスト型に代入
    return lines                                    #戻り値 リスト型

def read_temp(ch):                                  #linesから温度を読み取る関数 chは0,1,2,3,...
    lines = read_temp_raw(ch)                       #linesの取得
    while lines[0].strip()[-3:] != 'YES':           #linesの最初のデータの空白を取り除き最後の3文字が'YES'でないとき
        time.sleep(0.2)                             #0.2秒待つ
        lines = read_temp_raw(ch)                   #再度linesを取得
    equals_pos = lines[1].find('t=')                #2行目の't='の位置を取得
    if equals_pos != -1:                            #'t='の位置が-1でなければ 見つかった時
        temp_string = lines[1][equals_pos+2:]       #'t='の位置の2文字目以降の文字列を取得
        temp_c = float(temp_string) / 1000.0        #浮動小数点型に変換して、1000で除算 摂氏温度に変換
        #temp_f = temp_c * 9.0 / 5.0 + 32.0
        #return temp_c, temp_f
        return temp_c                               #戻り値 摂氏温度

def setup():
    webiopi.debug("Script with macros - Setup")     #デバッグ出力を利用

def loop():                                         # WebIOPiが起動している間、繰り返し呼ばれる関数
    #global temp_c
    #temp_c=read_temp(0)
    webiopi.sleep(1)

def destroy():                                      # WebIOPi終了時に呼ばれる関数
    webiopi.debug("Script with macros - Destroy")

@webiopi.macro                                      #Javascriptから呼ばれる関数
def getTemp():
    temp_c = "{0:.3f},{1:.3f}".format(read_temp(0),+read_temp(1))     #0チャンネンルと1チャンネルを小数点以下3桁に整えて','で区切る 文字列としてtemp_cに代入
    return temp_c                                   #戻り値
最後にターミナルから、ifconfig でラズパイのIPアドレスを調べ、ブラウザから、
と入力してください。IPアドレスはifconfigで調べた数値です。ポートもデフォルトが8000です。
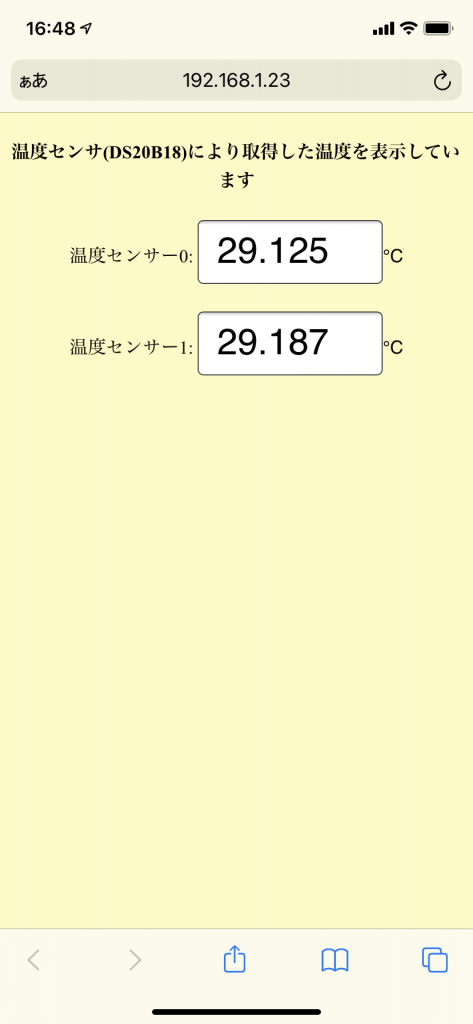
スマホのスクリーンショットです。